Red Lily Beetle? Yikes! Here's your battle plan.
 Lily
Beetle, left unchecked, will disfigure, seriously weaken, and
eventually kill members of the Liliacae family -
Oriental Lilies and Fritillary being the most popular.
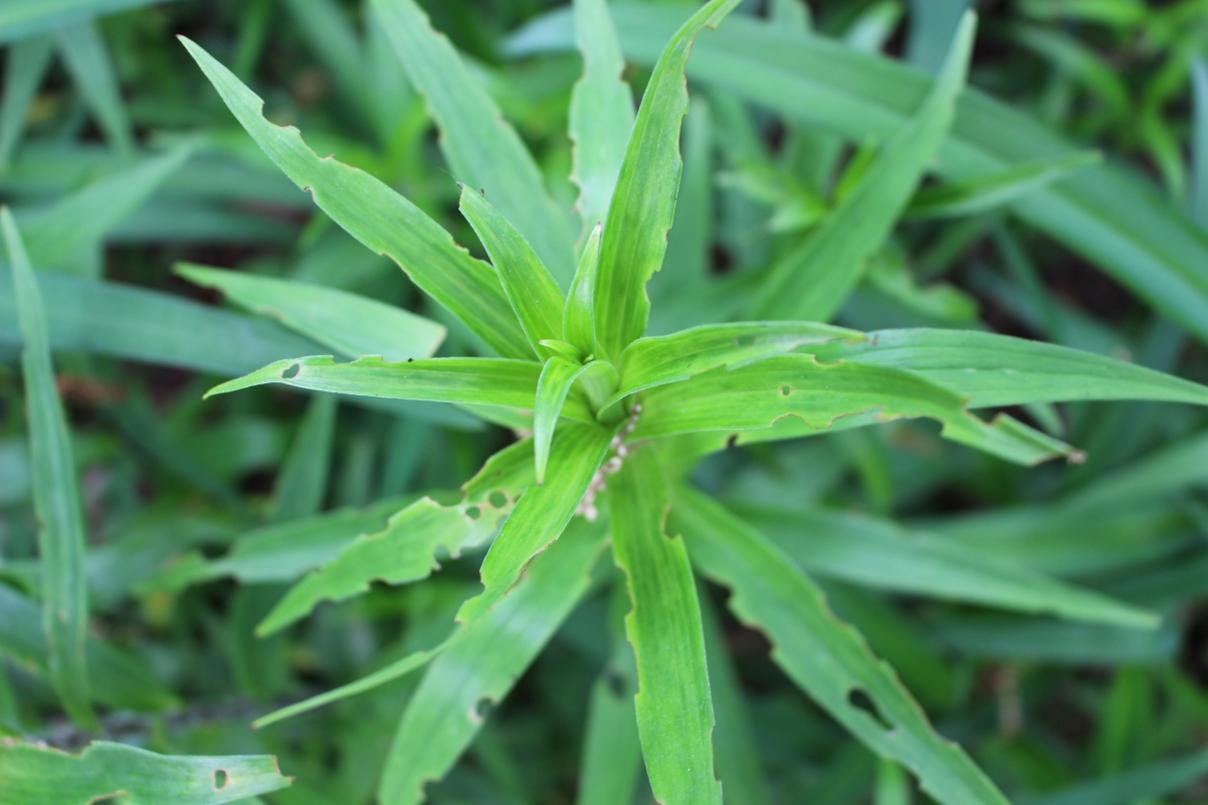
Both their larvae and adults munch through leaves so fast, that the
plant ends up with very little foliage left to feed on the sun's
rays. They are bright orangey red, 1/4" long beetle, that can
destroy your Oriental Lily bulbs over a short period of time.
Lily
Beetle, left unchecked, will disfigure, seriously weaken, and
eventually kill members of the Liliacae family -
Oriental Lilies and Fritillary being the most popular.
Both their larvae and adults munch through leaves so fast, that the
plant ends up with very little foliage left to feed on the sun's
rays. They are bright orangey red, 1/4" long beetle, that can
destroy your Oriental Lily bulbs over a short period of time.Lily beetle feeds pretty much only on plants in this genus, so you can focus on monitoring these plants only with the following control measures. (note: Daylilies are the common name for the Hemerocallis family - nothing at all to do with true lilies other than the resemblance of their flowers).
 I've been
experimenting with a homemade NEEM OIL spray with some success, but
running after pest problems with sprays and potions is never a good
answer to a garden pest problem since it's bound to affect the other
insects in your garden - most of which are beneficial.
(NOTE: whether "natural" or "chemical", pesticides kill insects, and
up to 90% of the insects you encounter in your garden are beneficial
insects. Pesticides of any type should only be used to help you get
an outbreak under control, then manual vigilance can keep
things in control.).
I've been
experimenting with a homemade NEEM OIL spray with some success, but
running after pest problems with sprays and potions is never a good
answer to a garden pest problem since it's bound to affect the other
insects in your garden - most of which are beneficial.
(NOTE: whether "natural" or "chemical", pesticides kill insects, and
up to 90% of the insects you encounter in your garden are beneficial
insects. Pesticides of any type should only be used to help you get
an outbreak under control, then manual vigilance can keep
things in control.).Not an easy pest to control if you grow Oriental Lilies. Here's your battle plan!
This devastating garden pest attacks and lays its eggs on, Lilium species mainly- the stunning bulb Lily family of plants. Lily Beetle (Liloceris lilii) was first discovered in North America in 1992. Most likely they hitch-hiked in a shipment of bulbs from overseas. It has since spread throughout the northeast to the complete demise of gorgeous Lily beds everywhere. For years collectors tried product after product for control, but the Lily Beetle's tenacity was no match.
 Unlike most
other native garden pests, Lily Beetle has no natural predator on this
continent, which is how they've been so successful in
their aggressive march through Lily beds here. They are strong
fliers so can seek out their target, but their eggs are also
moved around on host plants - i.e. your new Lily bulb purchase!
Eggs can be tucked in under the bulb scales, and just one hitch-hiking
youngster brought home from the garden center can start a life cycle
in your garden.
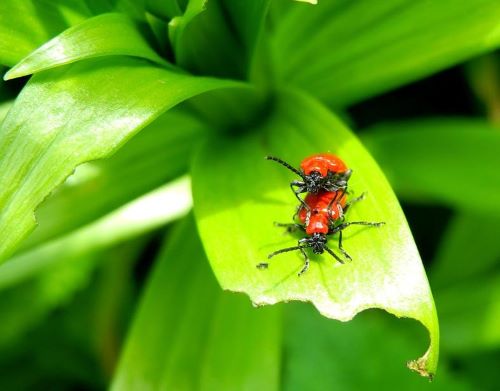
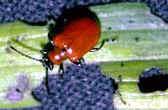
 Identification: Adult Beetles are easy to spot - bright orangey-red, square-ish, and about 1/4" long.
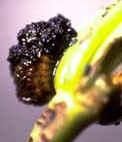 Their larvae are mushy black slug-like things, with swollen bodies and
black heads that look just like a little slimy mass of poop. The
fecal matter analogy isn't so off-base either! Larvae cover
themselves with their own fecal matter to deter and disguise
themselves from predators. (That'll work!)
Their larvae are mushy black slug-like things, with swollen bodies and
black heads that look just like a little slimy mass of poop. The
fecal matter analogy isn't so off-base either! Larvae cover
themselves with their own fecal matter to deter and disguise
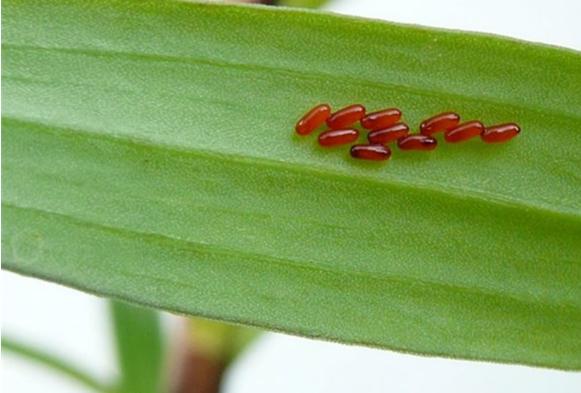
themselves from predators. (That'll work!)Life Cycle: Adults over-winter in the soil's surface layer, emerge in spring (in sync with the emerging lily foliage), and immediately mate. Early to mid May you'll find adults tucked into the leaf joints, often in pairs, busily mating. Soon after mating, females lay brownish-orange eggs on the undersides of foliage that hatch within 4-8 days. (Mid to late May, routinely check the undersides of leaves for an orange line of clustered tiny eggs). This more or less brings us to early June here in the northeast, when you'll see the young larvae initially feeding on the undersides of the foliage, but later on the upper surfaces, stems, and buds. (If you where vigilant about getting the adults and crushing the eggs, you shouldn't end up with too many larvae.)
The larval feeding phase of their life cycle is the most destructive. They voraciously munch holes in leaves to
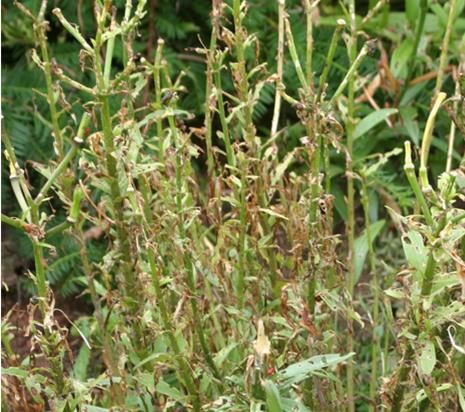 the point of leaving
nothing behind, and this feeding frenzy lasts for 16-24 days.
The happily fattened larvae then drop to the soil to pupate and become
adults. New adults emerge 16-22 days later (which brings us to
more or less early August) and the new adults feed on your Lilies for
the rest of the season. These are the ones that will tuck into the
soil over winter and begin the cycle again next spring.
 Each female beetle produces 250-450 eggs. That's a lot of lily beetles! Left unchecked they'll overrun and demolish any host plants in the vicinity within just a year or two.
Management: If you focus on the Lily Beetle's life cycle, it's easy to see when you can be
 effective in controlling this
devastating pest. Cultivate the soil surface around your Lilies
in late fall, searching for new adults bedding down for winter.
In early spring, just as lily foliage is emerging, the beetles will
too! Be vigilant for a couple of weeks and hunt down the emerging
adults that can be found hiding in nooks all over the plant, before
they have a chance to mate. (Trickier
than it sounds since they have the uncanny ability to seemingly sense
your thoughts and drop to the ground just a fraction of a second
before your thumb and forefinger closes around them!). A week or
so later, start search and destroy missions each day, this time
looking for eggs and newly hatched larvae. In early August watch
for new adults.
 Avoiding the Problem: If you've grown Lilies successfully in the past without meeting this nasty pest, don't be too smug! With just one new un-inspected purchase the situation can change quickly. When purchasing new lily bulbs, or accepting a gift from a gardening neighbour, dunk them in a weak bleach solution for a minute and rinse them thoroughly, before they even get near your garden. ...and make sure the rinse water goes down a drain and not outside beside the garden hose! Remember, you're looking for bright red adults or slug-like larvae in the soil - not eggs, so they should easily rinse away if present. Inspect them thoroughly!
for
more topics and in-depth articles, visit our
new web site at -
www.YRgardening.ca
your
LOCAL guide
to all things
gardening in York Region
link
to...
In the case of potted bulbs already growing, dunk and rinse them nevertheless. The growing plants will be weakened, and may punish you by not blooming well the first year - but they won't die. Wash away all soil that's in among the roots using room temperature water, and also inspect stems and foliage thoroughly for eggs or young larvae - any adults likely dropped off the plant already. Even just one beetle that makes it into your garden can begin the ravaging cycle, so don't let your eagerness to get your new plants into the ground deter you from a thorough de-bugging first.
Even with vigilance, once you have Lily Beetle in your garden beds you've likely got them for good. Control is the best you can hope for. Focus on its life cycle so you know what to watch for, when. With a watchful eye, a battle plan calendar, and a gloved hand, you'll be able to keep their population down to a manageable level and continue enjoying your beautiful Oriental Lilies.
Good luck, and keep your gloved hand ready to pounce! Evelyn
©Evelyn Wolf, 2019. All rights reserved. contact for permission to use.

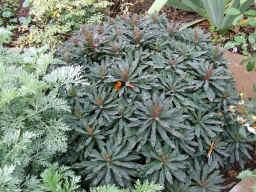 There's nothing
like them for rich foliage colour and a perfectly neat
plant shape to contrast other frilly or upright
forms. Their early spring chrome yellow flowers are just a welcome
bonus! The most common one, E. polychroma (a.k.a.
cushion spurge), has plain green-ish grey foliage but
  with fabulous
fall colour. Evelyn
 Partner it
together with a Euphorbia that turns red in fall for a
fabulous contrast of all the design feature elements - shape,
texture and colour. When positioning any new perennial,
think first about it's non-flower attributes to find it's ideal
partner for all season interest.
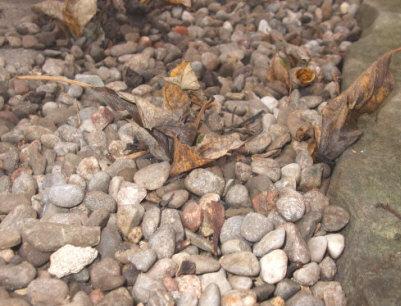 Look closely at the ground in
early spring where last year's leaves fell. Are there any
pieces half in and half out of the ground? That's
worms at work, pulling down organic debris into the
soil ecosystem where there's a whole other living world ticking
away! Don't rake away all this "mess" - leave it right where
it is for the worms to feed on and thereby enrich your soil. A
lot easier and cheaper than buying compost or other raw material
each year! Clean away the most unsightly stuff, but leave as
much as you can on the soil surface.
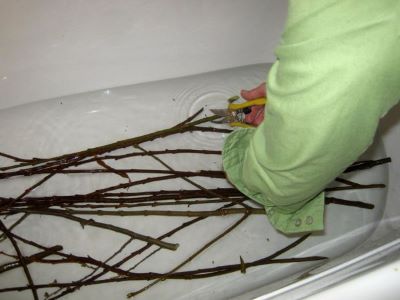
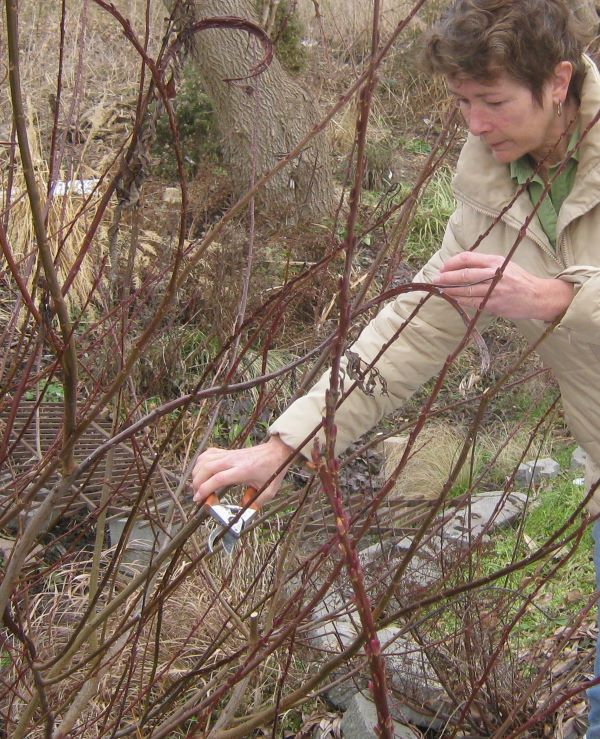 Reap Bloomin' Rewards from Winter
Pruning!

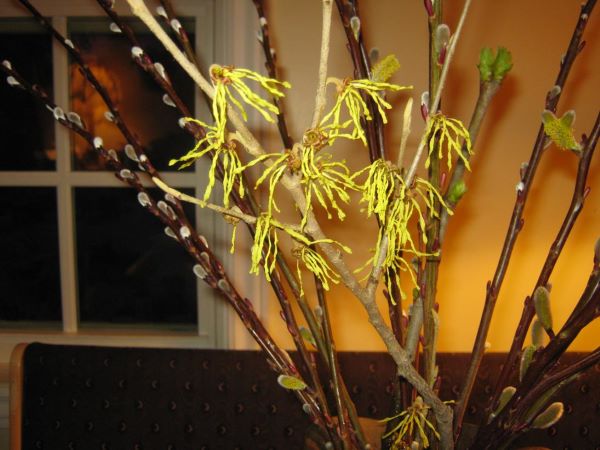 in floral preservative
as per label instructions and 1 tbsp of Listerine per quart of
water. This will promote water uptake and slow down bacteria
growth. Adding a few drops of essential oil of Lavender will
assist the bacteria killing action and make the whole experience that
much more pleasant.